Quick answer: You can line a crochet bag without a sewing machine by using a hand-worked whipstitch or by heat-bonding iron-on interfacing and securing it with heavy-duty peel-and-stick fabric tape. A fabric liner transfers all carried weight from the flexible crochet stitches to the stable woven cotton, permanently stopping bottom and strap sagging while preventing small items from poking through.
Why adding a fabric lining transforms a crochet bag
Crochet fabric consists of interlocking yarn loops that naturally expand when stretched. While this flexibility works well for garments, it creates problems for bags. Small items like pens, lip balm, and keys can slip through stitch openings, while heavier items cause the bottom and handles to droop.
A woven fabric lining solves these issues through basic physics. Woven cotton canvas has interlocking warp and weft threads that do not stretch. When you line your crochet bag, the interior fabric carries the physical load, leaving the crochet exterior purely decorative and free from mechanical strain.
Materials checklist for no-machine bag lining
You do not need expensive sewing machinery to create a professional lining. Gather these simple tools:
- Lining fabric: Pre-washed 100% cotton canvas, quilting cotton, or linen. Pre-washing prevents shrinkage later.
- Sewing needle and matching thread: A sharp hand-sewing needle or embroidery needle with thread that matches your lining.
- Iron-on fusible interfacing: Medium-weight interfacing adds structure and prevents fraying.
- Heavy-duty peel-and-stick fabric tape: For an entirely needle-free assembly.
- Measuring tape and sewing pins: For measuring your crochet bag shell accurately.
- Iron and pressing cloth: For crisp, flat seams.
Method 1: The hand whipstitch technique
The hand whipstitch technique is the most durable method for securing a lining without a sewing machine. Follow these step-by-step instructions:
Step 1: Measure the crochet shell
Lay your finished crochet bag flat on a table. Measure the total width across the top opening and the height from the bottom base to the top rim. If your bag has a flat rectangular or oval base, measure the base dimensions separately.
Step 2: Cut your lining fabric with seam allowance
Cut two pieces of cotton fabric to match your bag measurements, adding 0.5 inches (1.3 cm) along the sides and bottom for seams, and 1.0 inch (2.5 cm) along the top edge for the upper hem.
Step 3: Hand sew the side and bottom seams
Place the two fabric pieces with right sides facing together. Using a backstitch with your hand needle and thread, sew along the two sides and across the bottom edge, staying 0.5 inches in from the cut edge. Backstitching creates a strong, locked seam that rivals a machine stitch.
Step 4: Press the top hem
Fold the top raw edge outward by 0.5 inches and press with an iron. Fold it outward another 0.5 inches to enclose the raw edge completely, then press again. This creates a clean, finished rim that will not fray over time.
Step 5: Whipstitch the lining to the crochet bag
Turn your fabric lining wrong-side-out so the printed or clean side faces into the bag. Insert the lining into the crochet bag shell, aligning the side seams of the lining with the side seams of the bag. Pin the pressed top rim of the lining about 1/4 inch below the top crochet edge.
Using your hand needle and matching thread, work small whipstitches around the perimeter. Anchor each stitch into the back loops or inner horizontal bars of the top crochet row without letting the needle poke through to the exterior of the bag. Tie off your thread securely with a double knot inside the lining.
Method 2: The needle-free adhesive method
If you prefer not to sew at all, you can construct a sturdy lining using heat-activated interfacing and heavy-duty double-sided fabric tape:
- Fuse interfacing to the lining: Cut iron-on interfacing to match your lining panels. Iron the interfacing to the wrong side of the fabric. This fuses the edges and eliminates raw edge fraying.
- Form the liner with fabric tape: Apply heavy-duty permanent fabric tape along the side and bottom seam allowances. Peel away the paper backing, press the panels together firmly, and smooth with your fingers.
- Secure to the crochet shell: Apply a continuous band of fabric tape around the upper interior rim of your crochet bag. Insert the prepared lining, press it firmly against the taped crochet rim, and let the adhesive cure for 24 hours before loading the bag.
Adding an interior slip pocket without a machine
An interior pocket keeps your phone and keys easy to reach. Cut a 6 by 7 inch rectangle of cotton fabric, fold all four edges inward by 0.5 inches, and press with an iron. Hand sew or fabric-tape the patch pocket to the right side of one lining panel before joining the lining together. This simple addition elevates your handmade project to a professional standard.
Explore lined bag patterns from I'm in The Loop
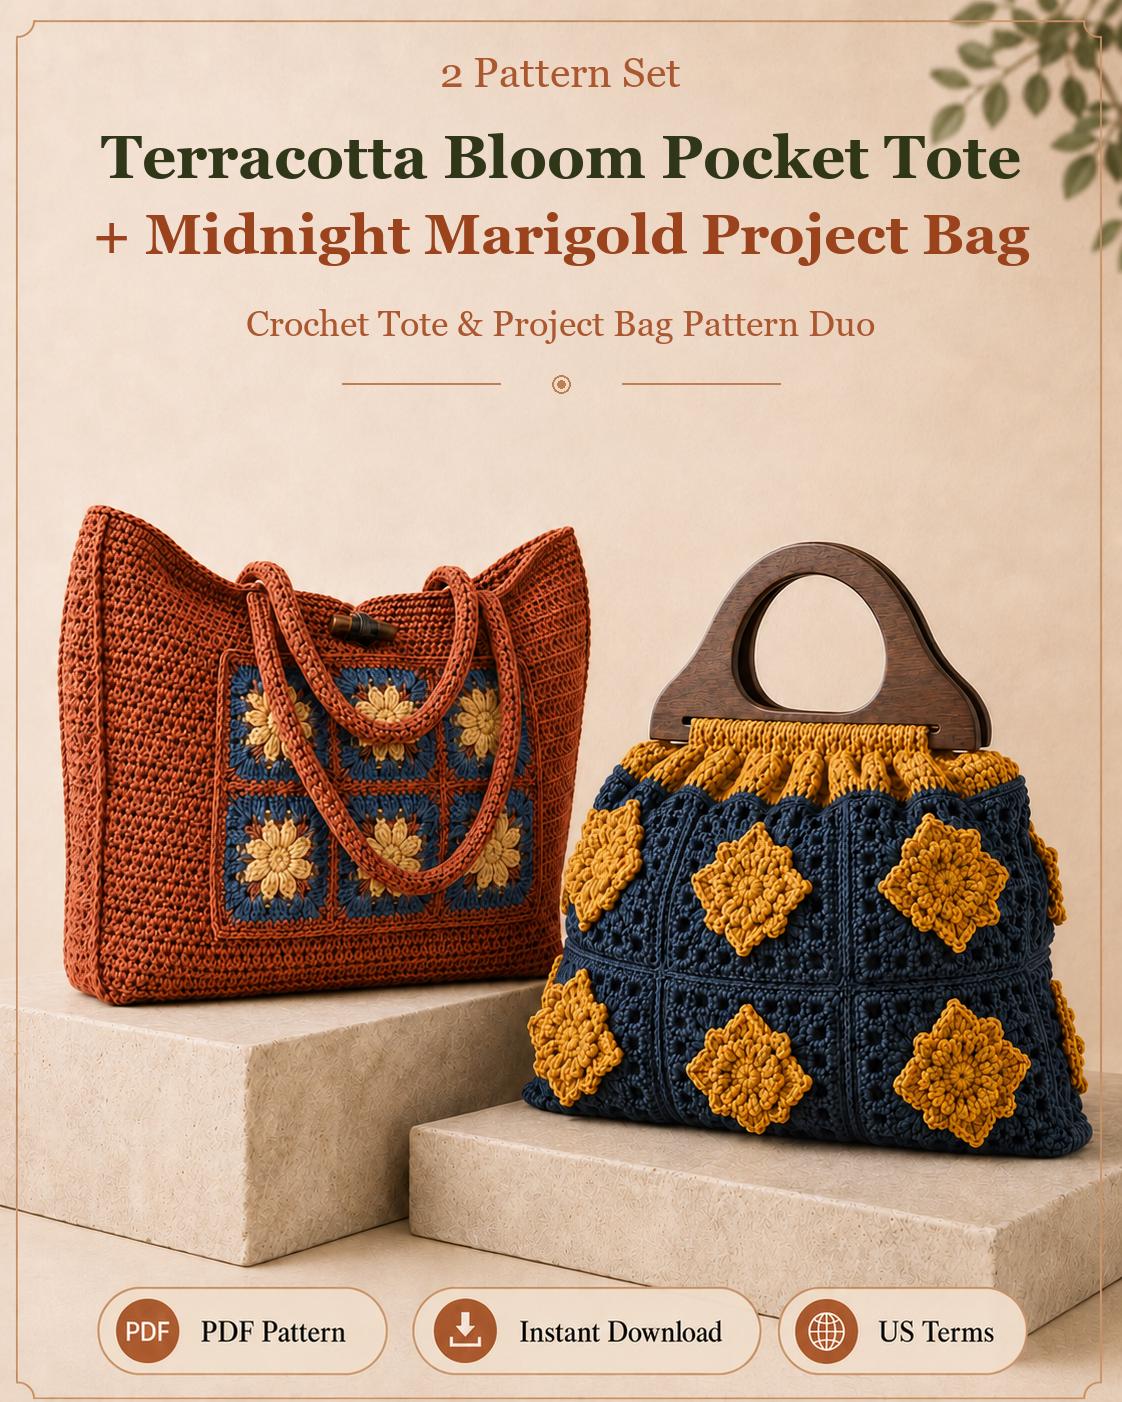
For project bags designed with clean structural dimensions, view our Crochet Project Bag Pattern Duo. If you prefer slouchy shoulder bags that benefit from a soft fabric lining, explore our Slouchy Hobo Tote crochet pattern. Browse all available guides in our complete crochet patterns collection.
Authoritative standards and references
This guide was tested and published on September 23, 2026. Textile care recommendations and fiber stability reference ASTM D5034 standards for load-bearing fabrics. Digital pattern downloads and project support are provided through secure Etsy checkout from I'm in The Loop.