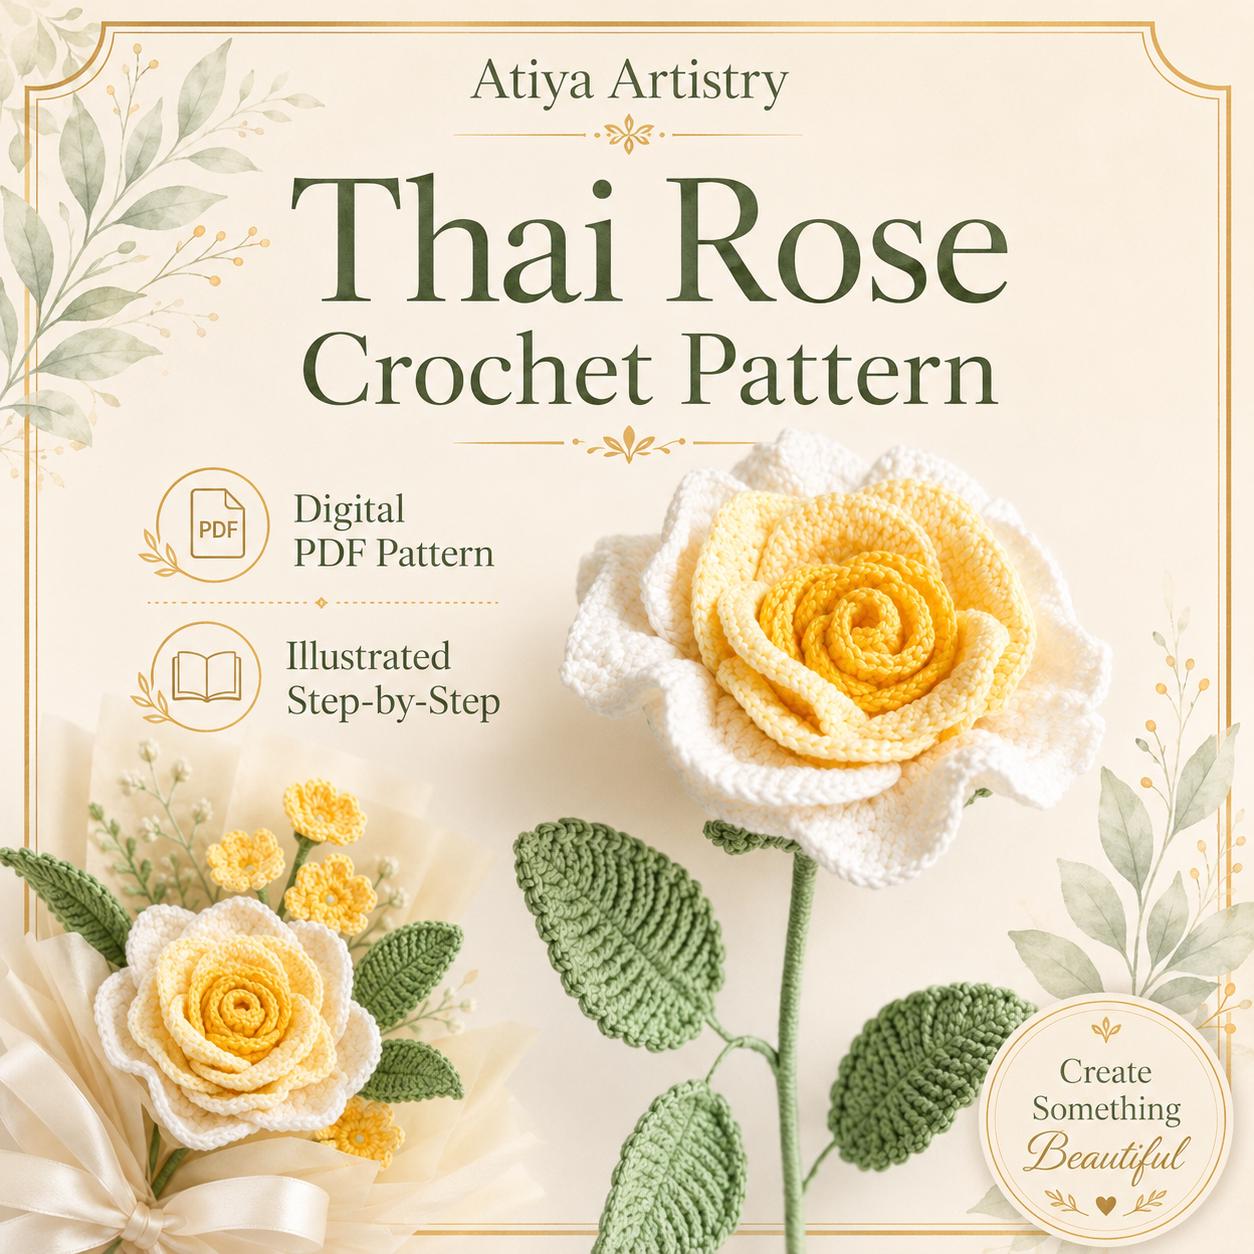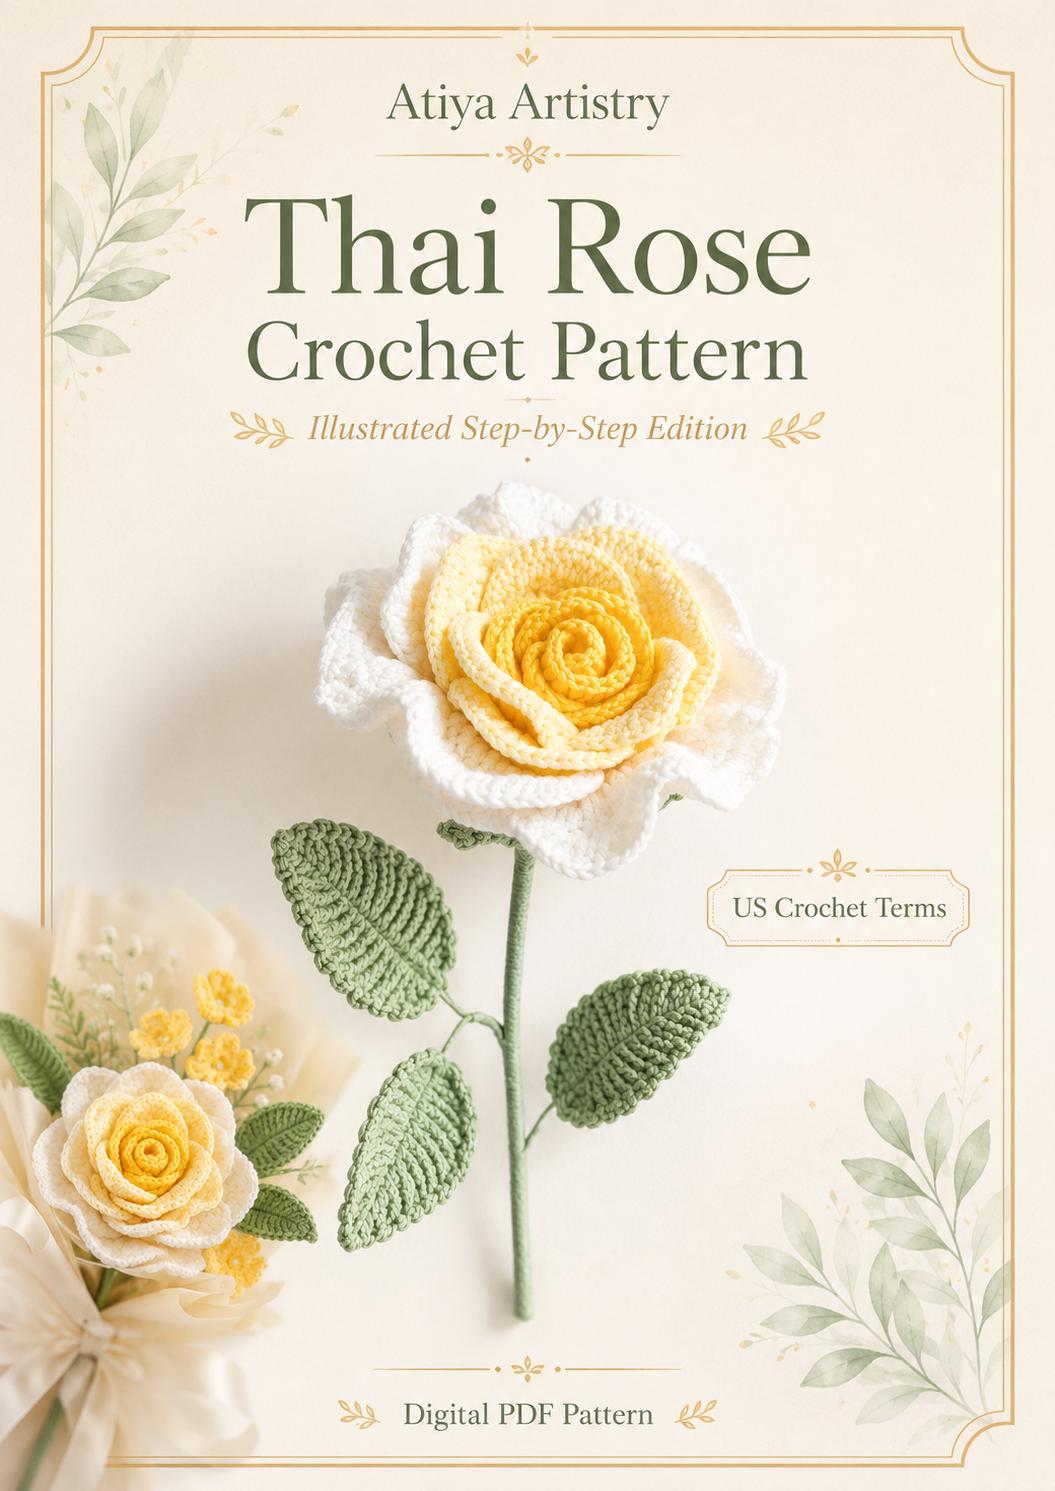
A realistic crochet rose depends on graduated petal sizes, controlled curling, thoughtful color, firm but flexible yarn, and careful assembly around a stable center. The petals should overlap naturally rather than forming a flat spiral.
A crochet rose offers the beauty of a flower without wilting. It can be used in bouquets, home decor, wedding arrangements, brooches, gift wrapping, wreaths, or handmade keepsakes. A well-written realistic crochet rose pattern explains not only the individual petals, but also how they are shaped and assembled so the final bloom has depth.
Realism does not require extremely complicated stitches. In many designs, the lifelike effect comes from proportion, tension, edge shaping, color placement, and the order in which petals are attached. This guide explains those decisions so you can begin a detailed rose pattern with a clear understanding of the process.
WHAT MAKES A CROCHET ROSE LOOK REALISTIC?
A real rose is not a flat circle. Its center is compact, the inner petals stand more upright, and the outer petals open gradually. Crochet roses look convincing when they follow the same visual structure.
- The central bud is narrow and tightly wrapped.
- Inner petals are smaller and more upright.
- Middle petals overlap and begin to open.
- Outer petals are broader, softer, and more curved.
- Petal edges may roll, cup, or turn outward.
- Leaves and sepals support the flower beneath the bloom.
A rose can be stylized and still feel natural. Exact botanical accuracy is less important than a clear progression from a tight center to an open outer layer.
CHOOSING YARN FOR CROCHET ROSES
The best yarn depends on the size and purpose of the flower. Smooth cotton produces crisp petals and clear stitch definition. Mercerized cotton can add a slight sheen. Acrylic is affordable and available in many colors, while fine thread creates delicate flowers for jewelry or detailed arrangements.
Cotton
- Petal appearance: Crisp and defined
- Best use: Bouquets and home decor
- Consideration: Can create a firmer flower
Mercerized cotton
- Petal appearance: Smooth with subtle shine
- Best use: Elegant gifts and display pieces
- Consideration: Slippery yarn may need controlled tension
Acrylic
- Petal appearance: Soft and slightly fuller
- Best use: Practice flowers and colorful bouquets
- Consideration: Heat must be used very carefully
Crochet thread
- Petal appearance: Fine and delicate
- Best use: Jewelry, cards, and miniature roses
- Consideration: Requires a small hook and more precision
Velvet or chenille
- Petal appearance: Large and plush
- Best use: Statement flowers and cushions
- Consideration: Fine shaping details may be hidden
For a realistic medium-sized rose, a smooth sport, DK, or light worsted yarn is often manageable. Match the yarn weight and hook used by the pattern if you want the finished size shown in the photographs.
HOW COLOR CHANGES THE ROSE
Color can make the same construction feel romantic, modern, dramatic, or botanical. A single solid color is the easiest option. A subtle gradient creates more depth by using a darker shade in the center and a lighter shade on the outer petals.
Deep red to burgundy
- Suggested use: Romantic bouquets
- Visual effect: Classic and dramatic
Blush to cream
- Suggested use: Weddings and soft decor
- Visual effect: Delicate and elegant
Yellow to pale gold
- Suggested use: Cheerful gifts
- Visual effect: Warm and bright
Terracotta to dusty pink
- Suggested use: Autumn arrangements
- Visual effect: Muted and modern
White with green leaves
- Suggested use: Minimal interiors
- Visual effect: Clean and timeless
Avoid changing colors too frequently inside one small bloom. Realistic depth usually comes from two or three related shades rather than many unrelated colors. When using hand-dyed yarn, consider where the strongest color changes will appear on the petals.
CHOOSING THE CROCHET HOOK
A realistic petal should hold its curve without becoming stiff. A hook that is too large can create floppy petals with visible gaps. A hook that is too small may make shaping difficult and produce harsh edges.
Make one sample petal before committing to the full flower. Fold and curve it with your fingers. If it holds a soft shape and the stitches remain even, the hook and yarn combination is likely suitable.
COMMON CROCHET ROSE CONSTRUCTION METHODS
There is more than one way to crochet a rose. Understanding the method helps you predict the final appearance.
Spiral strip
- How it works: A shaped strip is rolled and secured
- Finished effect: Quick, decorative rose with repeated petals
Separate petals
- How it works: Individual petals are crocheted and assembled
- Finished effect: More control and realistic layering
Petal groups
- How it works: Several connected sections form inner and outer layers
- Finished effect: Balanced realism with less assembly
In-the-round bloom
- How it works: Petals are built outward from a center
- Finished effect: Compact flower with integrated construction
A highly realistic design often uses separate petals or grouped layers because each petal can be positioned deliberately. A spiral method is faster and excellent for appliques, but it may look more uniform.
HOW PETAL SIZES CREATE DEPTH
The flower should progress from small to large petals. If every petal has the same height and width, the rose may resemble a flat rosette.
A typical visual sequence is:
1. A compact center or rolled bud
2. Small inner petals that overlap closely
3. Medium petals that create the main flower volume
4. Large outer petals that open away from the center
5. Sepals beneath the bloom
6. Leaves and stem, when included
Do not attach every petal at the same height. Slightly offset layers create a more natural transition. Rotate the flower as you assemble it and check for gaps from every angle.
SHAPING CROCHET PETALS
Petal shaping can be built into the stitch pattern through increases, decreases, varying stitch heights, front-loop or back-loop work, and edge stitches. Additional shaping may be added after crocheting.
- Pin the petals during blocking to create gentle cups.
- Roll the edge around a hook handle for a subtle curve.
- Overlap petals while the yarn is still slightly damp.
- Use steam only when it is safe for the fiber.
- Avoid flattening every petal in the same direction.
Natural flowers contain variation. One outer petal may open more than another. Controlled asymmetry can make a handmade rose look more convincing than perfect repetition.
CREATING THE CENTER BUD
The center is the visual anchor. It should be firm enough to hold the inner petals but not so bulky that the rose looks heavy.
When assembling:
- Roll or fold the center tightly.
- Secure it at the base with matching yarn.
- Add small petals around the join, overlapping each previous edge.
- Keep the top opening narrow during the first layers.
- Begin opening the petals only after the center feels stable.
Use several small securing stitches rather than one large stitch pulled extremely tight. This distributes tension and reduces visible distortion.
HOW TO ATTACH PETALS NEATLY
Use a yarn needle and matching yarn unless the pattern specifies another method. Insert the needle through the lower part of the petal where stitches will be hidden by the next layer. Secure the base at several points.
Work around the flower rather than attaching all petals on one side first. After every two or three petals, view the bloom from above. If one area looks empty, adjust the next petal before securing it permanently.
Center
- Petal position: Tight and nearly vertical
- Visual goal: Create a defined bud
Inner layer
- Petal position: Close overlap
- Visual goal: Hide the center join
Middle layer
- Petal position: Moderate opening
- Visual goal: Build fullness
Outer layer
- Petal position: Broader and more relaxed
- Visual goal: Create the final rose silhouette
ADDING A STEM AND LEAVES
A stem turns a crochet rose into a bouquet flower. Floral wire, wrapped craft wire, or another pattern-approved support can create structure. Cover the support completely so no sharp end remains exposed.
Sepal
- Purpose: Supports the bloom from below
- Finishing tip: Center it around the flower base
Stem
- Purpose: Allows arranging and display
- Finishing tip: Wrap evenly from bloom to base
Leaf
- Purpose: Adds botanical detail
- Finishing tip: Vary angle and height for realism
Stem covering
- Purpose: Hides the internal support
- Finishing tip: Keep the wrapping smooth and secure
When making a bouquet, vary stem lengths slightly. Equal heights can make the arrangement look flat. Place the most open flowers lower and buds slightly higher for a natural composition.
HOW TO CROCHET NATURAL-LOOKING LEAVES
Rose leaves add contrast and make the flower feel complete. A center chain often acts as the leaf spine, with stitches worked along both sides. The combination of short and tall stitches creates a pointed oval.
- Use a green shade that complements the flower rather than overpowering it.
- Keep the central spine firm.
- Shape the tip carefully.
- Add subtle texture through front-loop, back-loop, or surface stitches when the pattern includes it.
- Attach leaves at different angles and heights.
A bouquet does not need the same number of leaves on every stem. Variation prevents the arrangement from looking mechanical.
COMMON CROCHET ROSE MISTAKES
USING ONE PETAL SIZE THROUGHOUT
This removes the gradual opening that makes a rose recognizable.
ATTACHING PETALS IN STRAIGHT VERTICAL ROWS
Stagger the petals so each new piece overlaps the gaps below it.
MAKING THE CENTER TOO LOOSE
A loose center can collapse. Secure the first layer firmly before adding larger petals.
OVER-BLOCKING
Petals should keep dimension. Flattening them completely can remove the realistic shape.
LEAVING THE FLOWER BASE UNFINISHED
A visible mass of knots or raw wire weakens the presentation. Cover the base with a sepal and secure every tail.
USING PETALS BEFORE THEY ARE FULLY DRY
Damp petals can lose their blocked shape during assembly. Allow them to dry completely first.
HOW TO ARRANGE A CROCHET ROSE BOUQUET
Begin with an odd number of main flowers, then add smaller buds, leaves, or filler elements. Rotate the bouquet as you build it. The arrangement should look balanced from the front and sides.
- Combine fully open roses with smaller buds.
- Use leaves at different heights.
- Repeat colors in more than one area.
- Leave small spaces so each bloom remains visible.
- Wrap stems only after the arrangement feels balanced.
For a wedding or formal display, make one sample rose first and record the exact yarn, hook, and assembly choices. Consistency matters when producing many flowers.
IDEAS FOR USING CROCHET ROSES
Handheld bouquet
- Recommended rose style: Stemmed realistic roses
- Extra consideration: Balance weight and stem length
Brooch or hair clip
- Recommended rose style: Small flat-backed rose
- Extra consideration: Secure hardware carefully
Wreath
- Recommended rose style: Mixed sizes
- Extra consideration: Plan spacing before attaching
Gift wrapping
- Recommended rose style: Lightweight mini rose
- Extra consideration: Use removable attachment
Wall decor
- Recommended rose style: Open roses with leaves
- Extra consideration: Arrange for front viewing
Wedding centerpiece
- Recommended rose style: Coordinated full blooms and buds
- Extra consideration: Repeat a limited palette
CARE AND STORAGE
Dust display flowers gently with a soft brush or cool air. Avoid crushing the petals in storage. Bouquets can be wrapped loosely in tissue and placed in a box large enough to protect the shape.
If washing is necessary, follow the yarn care instructions and consider whether the flower contains wire, glue, beads, or other materials. Reshape each petal while damp and dry the rose in a supported position.
IS A REALISTIC CROCHET ROSE BEGINNER-FRIENDLY?
A basic rose can be beginner-friendly, while a detailed botanical design may suit an advanced beginner or intermediate crocheter. The most demanding part is often assembly rather than the stitches themselves.
Look for a pattern that includes:
- Photographs of each petal size
- Clear assembly order
- Placement guidance from multiple angles
- Yarn and hook recommendations
- Instructions for leaves, sepals, and stems
- Finished measurements
- Standard stitch abbreviations
Ready to make a lasting flower? Explore Atiya Artistry’s realistic crochet flower designs and digital PDF patterns at the Atiya Artistry Etsy shop .
FREQUENTLY ASKED QUESTIONS
WHAT YARN IS BEST FOR REALISTIC CROCHET FLOWERS?
Smooth cotton or mercerized cotton gives clear stitch definition and helps petals hold their shape. Acrylic can also work when a softer result is preferred.
HOW DO YOU MAKE CROCHET ROSE PETALS CURL?
Curving can be created through stitch height, increases, blocking, gentle rolling, and careful assembly. Use heat only when the yarn fiber allows it.
CAN I MAKE A CROCHET ROSE WITHOUT WIRE?
Yes. A rose used as an applique, brooch, or gift decoration does not require a stem. Wire or another support is mainly used for upright bouquet flowers.
HOW LONG DOES IT TAKE TO CROCHET A ROSE?
The time varies with petal count, yarn size, skill level, and assembly method. A simple spiral rose can be quick, while a realistic multi-petal flower requires more time.
WHAT CAN I MAKE WITH CROCHET ROSES?
They can be used in bouquets, wreaths, hair accessories, brooches, table decor, wedding arrangements, gift wrapping, wall art, and other floral projects.
HOW DO I STOP A CROCHET ROSE FROM LOOKING FLAT?
Use several petal sizes, keep the center compact, overlap layers, shape the edges, and avoid attaching every petal at the same angle.
FINAL THOUGHTS
A realistic crochet rose is built through layers. Good yarn and neat stitches matter, but assembly creates the final flower. Keep the center compact, increase petal size gradually, overlap each layer, and shape the outer petals with restraint. The result can become a lasting bouquet or a meaningful handmade gift.
Browse detailed crochet flower patterns at Atiya Artistry on Etsy .