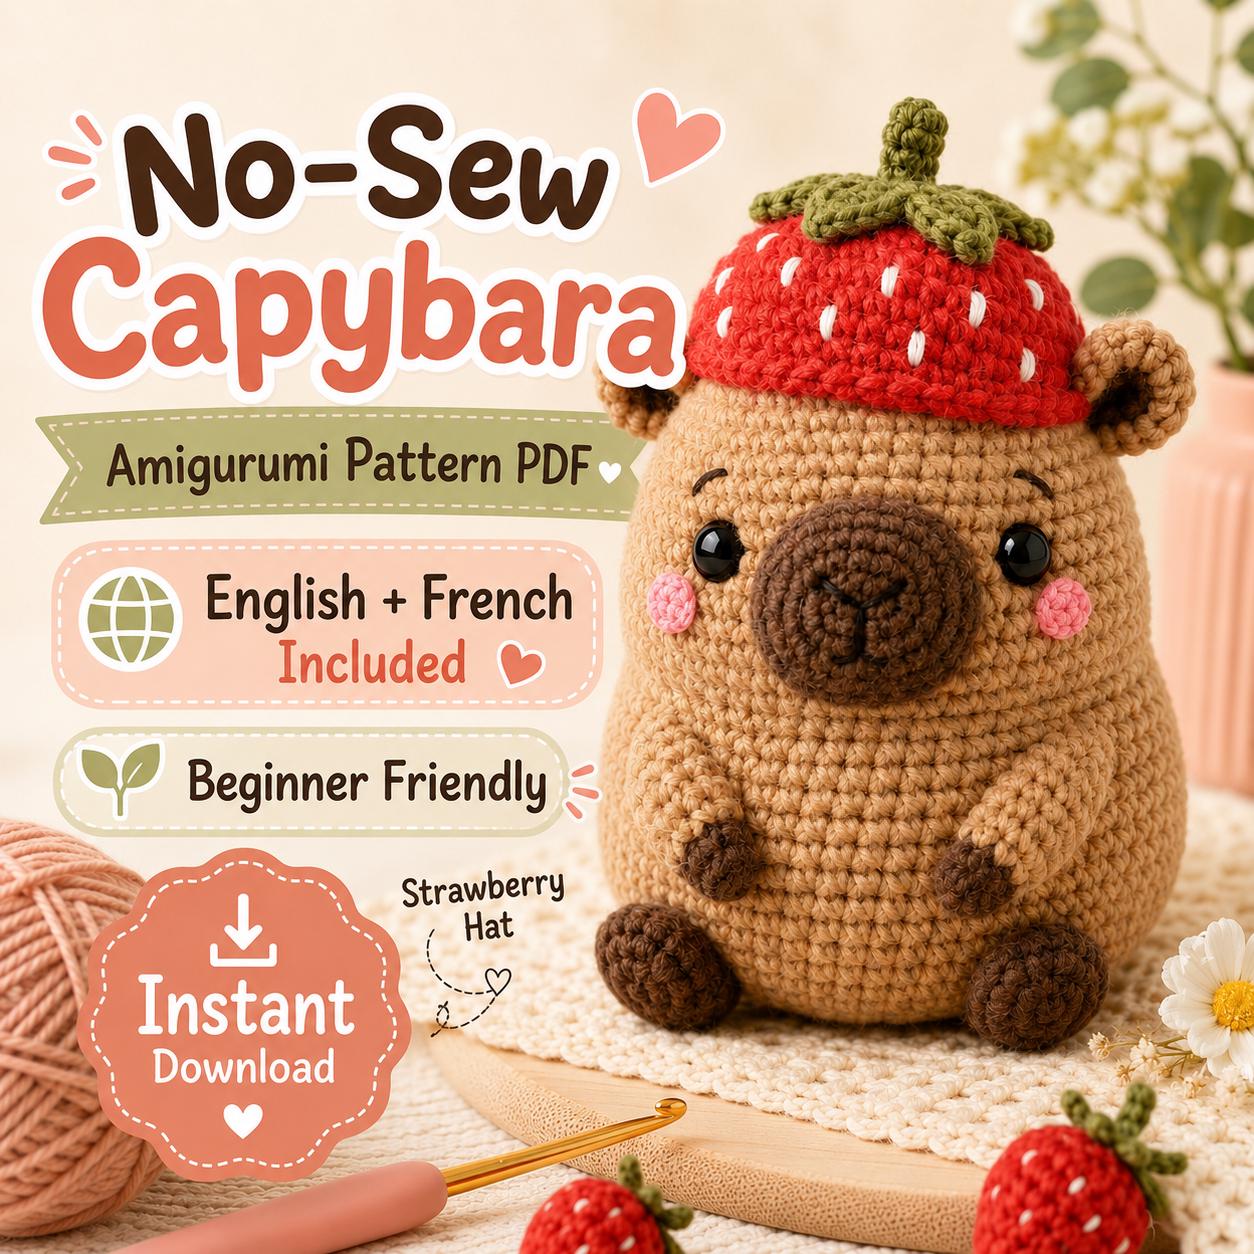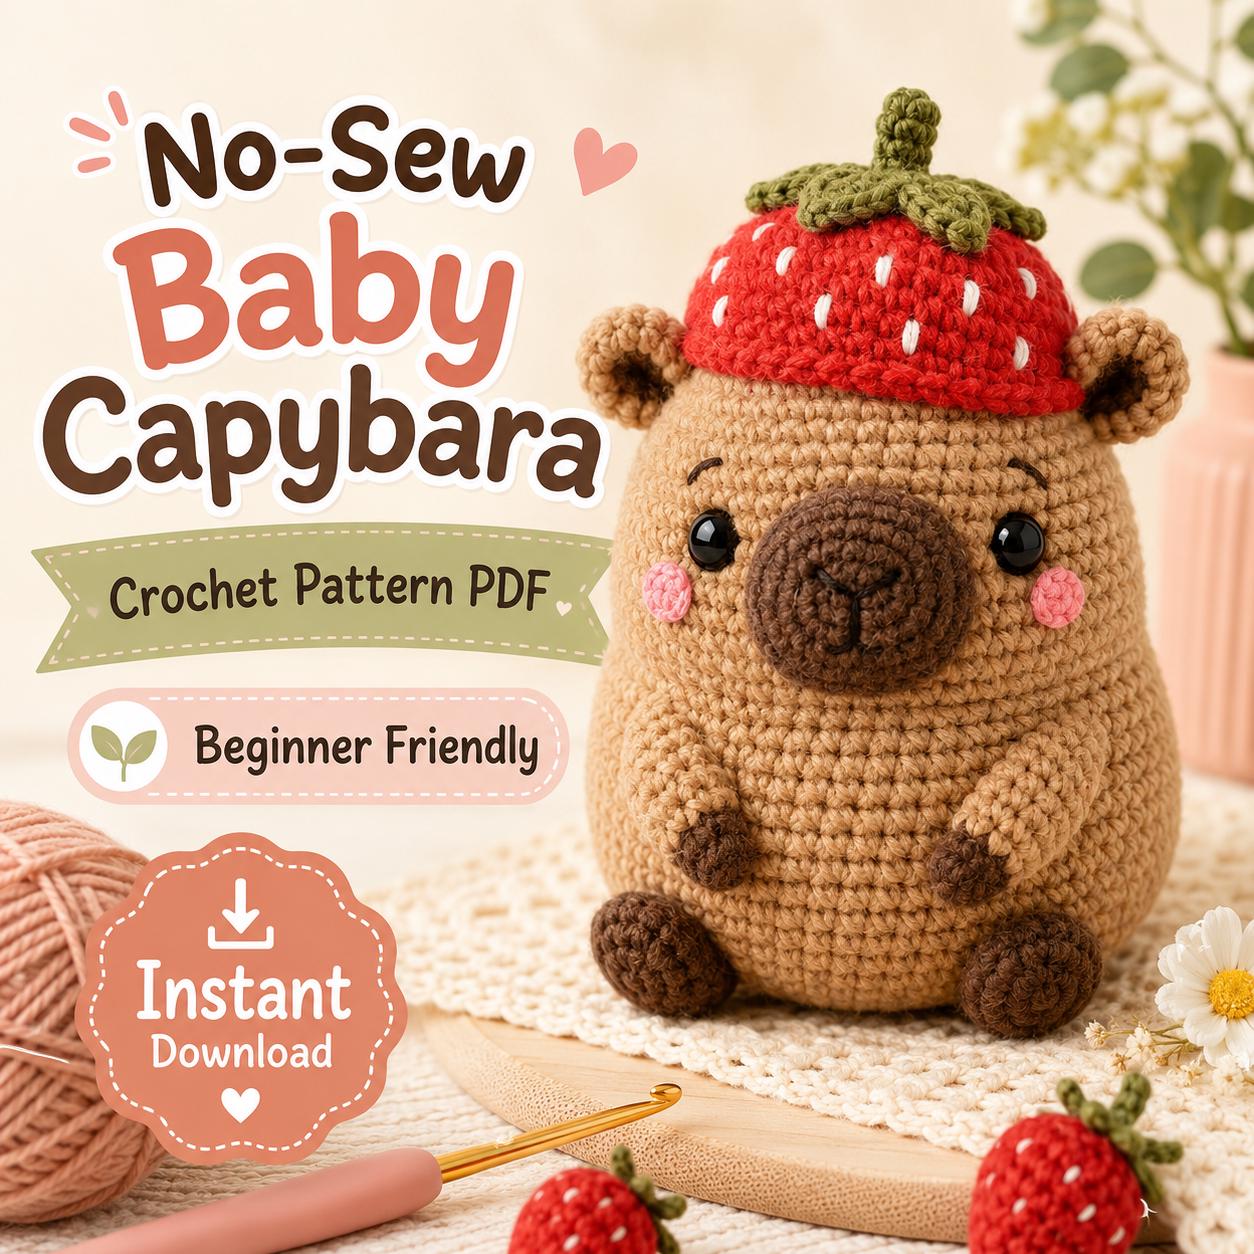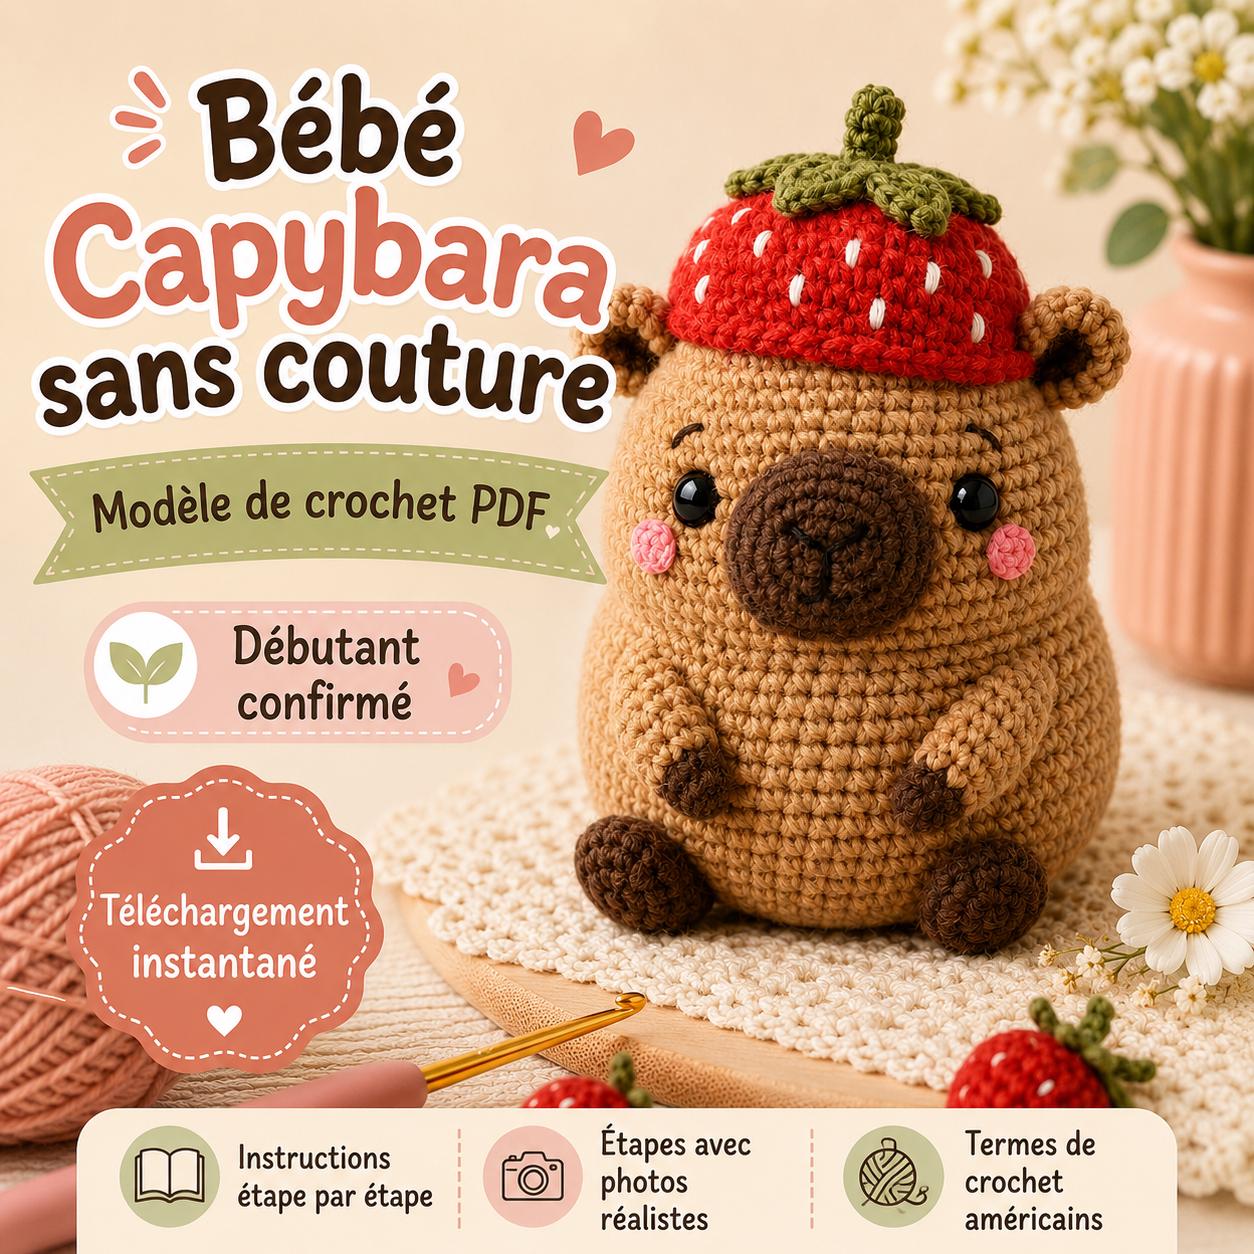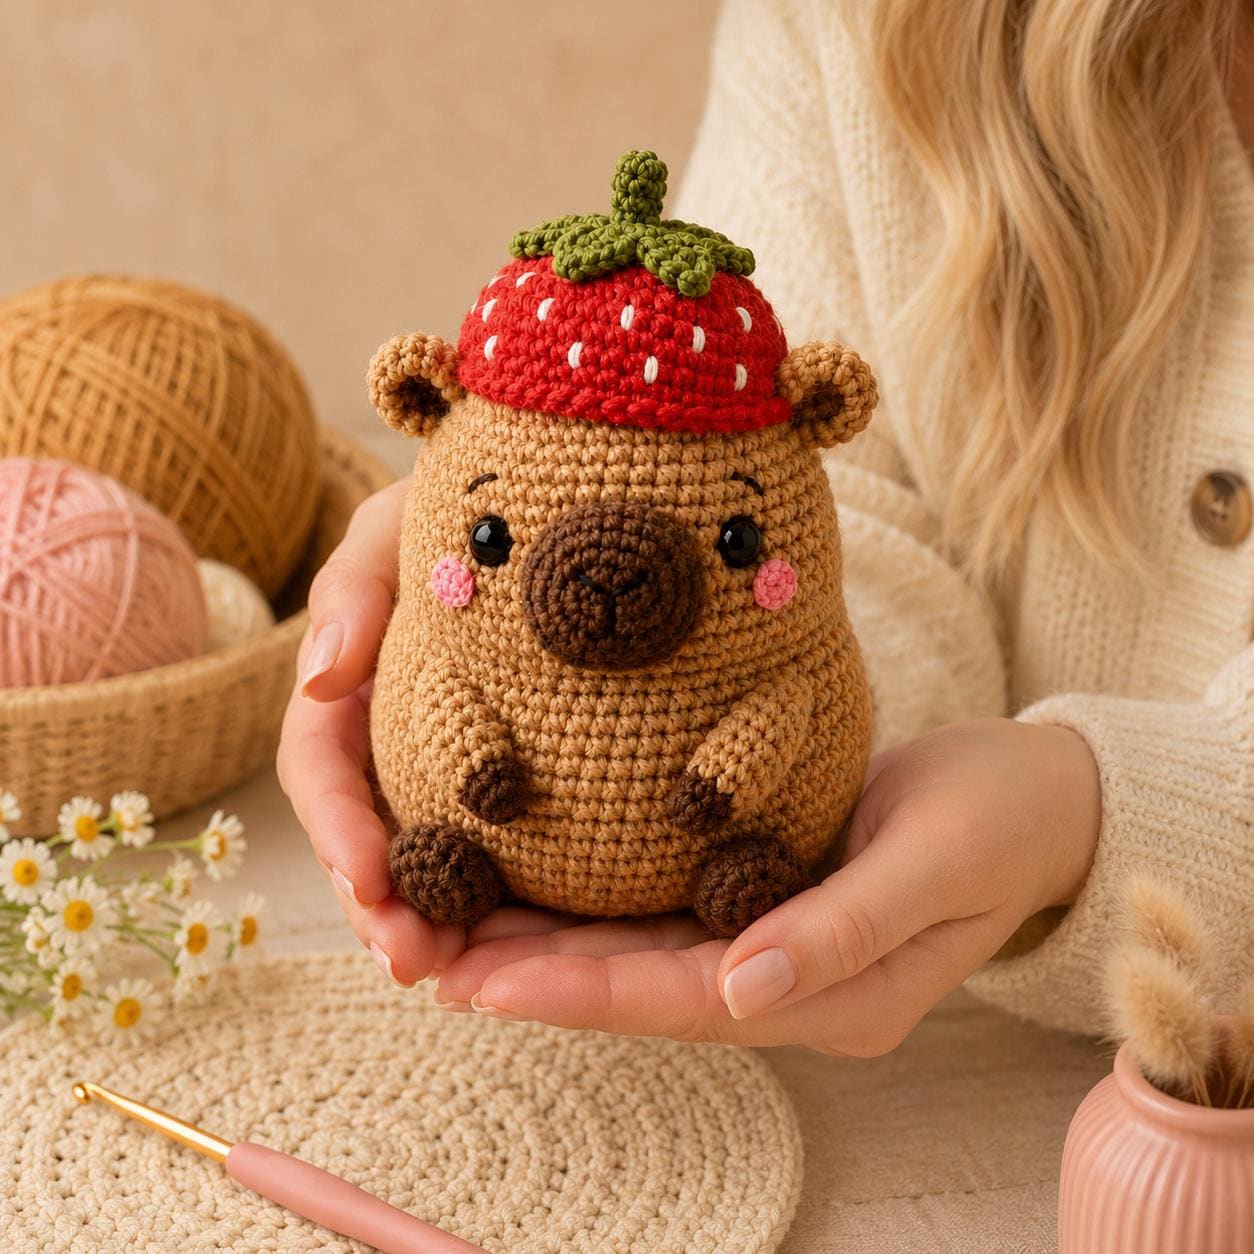
A no-sew capybara amigurumi is usually crocheted in continuous rounds, with features attached as the body is made rather than sewn on afterward. The best results come from careful stitch marking, controlled stuffing, symmetrical facial placement, and a yarn-and-hook combination that creates a dense fabric.
Capybaras have become a favorite amigurumi subject because their rounded bodies, small ears, calm expressions, and recognizable snouts translate naturally into crochet. A no-sew capybara crochet pattern makes the project even more appealing by reducing the number of separate pieces that need to be attached.
No-sew does not mean no finishing at all. Yarn tails still need to be secured, facial features must be placed carefully, and some accessories may be constructed separately. However, integrating the legs, ears, and other features into the main body can make the process faster and more consistent.
This guide explains the most important techniques before you begin: choosing yarn, controlling plush stitches, reading continuous rounds, adding features, stuffing, shaping, creating a strawberry accessory, and making safer choices for toys intended for children.
WHAT IS NO-SEW AMIGURUMI?
No-sew amigurumi is a style of crochet construction in which major features are crocheted directly into the body or joined during the working rounds. Traditional amigurumi may require separate arms, legs, ears, muzzle, tail, and body pieces. Each part must then be pinned and sewn in place.
In a no-sew design, a feature may be:
- Worked directly into a marked body stitch
- Crocheted separately but joined with the active round
- Created using bobble or cluster stitches
- Formed through increases, decreases, or surface crochet
- Attached with minimal finishing rather than full sewing
This construction can reduce assembly time, but it makes stitch placement more important. If an ear or leg is attached one stitch too early, the final animal may look twisted or asymmetrical.
BEST YARN FOR A CROCHET CAPYBARA
The yarn determines the size, texture, and visibility of the stitches. Plush chenille yarn creates a soft, rounded animal and hides small inconsistencies, but it can be difficult for beginners to count. Smooth cotton or acrylic yarn produces a smaller capybara with clearer stitch definition.
Plush chenille
- Finished look: Soft, large, cuddly
- Difficulty: Moderate because stitches can be hidden
- Best for: Giftable plush animals
Velvet yarn
- Finished look: Smooth and soft
- Difficulty: Moderate; may shed or worm
- Best for: Decorative plushies
Worsted acrylic
- Finished look: Clear stitches and firm shape
- Difficulty: Beginner-friendly
- Best for: Practice pieces and smaller toys
Cotton
- Finished look: Crisp, compact, detailed
- Difficulty: Beginner to intermediate
- Best for: Display amigurumi and keychain sizes
Brown, caramel, tan, or warm beige works well for the main body. A strawberry-themed version may use red or pink for the fruit, green for the leaves, and small contrasting details for seeds.
CHOOSING THE RIGHT HOOK SIZE
Amigurumi needs a dense fabric so stuffing does not show through. The hook is often smaller than the size normally used for the same yarn in a blanket or garment. The exact recommendation should come from the pattern.
Check the first few rounds:
- If large gaps reveal stuffing, try a smaller hook or firmer tension.
- If inserting the hook is painful, use a slightly larger hook.
- If plush yarn breaks or sheds, avoid pulling every stitch excessively tight.
- If the shape feels too soft, check both stitch density and stuffing amount.
The goal is not to crochet as tightly as possible. It is to create a consistent fabric that safely contains the stuffing and still allows comfortable movement of the hook.
ESSENTIAL MATERIALS
Main yarn
- Purpose: Body, ears, legs, and snout
- Useful note: Buy enough from one dye lot
Contrast yarn
- Purpose: Accessory and facial details
- Useful note: Choose a compatible yarn weight
Crochet hook
- Purpose: Creates dense amigurumi fabric
- Useful note: Follow the pattern recommendation
Stitch marker
- Purpose: Marks the beginning of each round
- Useful note: Essential for continuous rounds
Fiberfill
- Purpose: Shapes and supports the body
- Useful note: Add in small amounts
Yarn needle
- Purpose: Secures tails and adds embroidery
- Useful note: Use a blunt tip for yarn
Safety eyes or embroidery yarn
- Purpose: Creates the face
- Useful note: Use embroidered features for very young children
HOW CONTINUOUS ROUNDS WORK
Many amigurumi patterns are worked in a spiral. The final stitch of one round flows directly into the first stitch of the next round without a joining slip stitch. This avoids a visible seam, but it also makes the starting point easy to lose.
Place a stitch marker in the first stitch of every round. Move it only after confirming that the round is complete. Count frequently, especially before and after increases, decreases, or attached features.
A running scrap of contrasting yarn can also mark the round. Lay it across the work before making the first stitch, then flip it back and forth at each new round. This creates a visible vertical guide.
HOW TO READ AMIGURUMI SHAPING
Amigurumi shapes are created by distributing increases and decreases. Increases widen the fabric. Decreases narrow it. The capybara’s body may begin at the nose or one end, expand through the head and torso, and then decrease toward the opposite end.
Even increases
- Effect on shape: Creates a wider, rounded section
- Effect on shape: Maintains the current width
Even decreases
- Effect on shape: Closes or narrows the shape
- Effect on shape: Builds a specific curve or projection
Bobble or cluster stitch
- Effect on shape: Creates a small raised feature
- Count every round instead of assuming the stitch total is correct.
- Use multiple markers to identify feature-placement points.
- Avoid repeatedly pulling out plush yarn because it can shed or weaken.
- Keep a small notebook or row counter beside the project.
- Pause after every major shaping section and compare the silhouette with the reference image.
If a magic ring is difficult with chenille yarn, some crocheters create the ring with a matching smooth yarn or use a short chain start. Follow the method allowed by the pattern so the center remains secure.
HOW TO MAKE INVISIBLE DECREASES
Visible decreases can leave bumps or gaps. Many amigurumi patterns use an invisible decrease worked through the front loops of two stitches. The exact method should be defined in the PDF.
Keep the decrease firm but not crushed. Pulling too tightly can distort plush yarn, while working too loosely can reveal stuffing. After a decrease round, smooth the fabric with your fingers and check that the shape narrows evenly.
STUFFING A CAPYBARA EVENLY
Add stuffing gradually. Large clumps create lumps and can force the stitches apart. Small pieces allow more control.
1. Begin stuffing before the opening becomes too narrow.
2. Fill the farthest sections first.
3. Use the blunt end of a hook or a stuffing tool to reach the snout and curves.
4. Check the animal from the front, side, top, and bottom.
5. Add extra support under the neck or back only where the shape requires it.
6. Stop before the fabric becomes overstretched.
A capybara should look softly rounded rather than hard and overfilled. Overstuffing can distort the face, reveal gaps, and make attached features point in the wrong direction.
PLACING EYES AND FACIAL FEATURES
The expression depends heavily on spacing. Before fixing safety eyes permanently, insert them loosely and view the face from several angles. Move them one stitch at a time until the expression feels balanced.
For a calm capybara look:
- Keep the eyes level unless the design intentionally changes the expression.
- Place the nose in relation to the center of the snout, not the full body.
- Use small embroidered details rather than oversized features.
- Check that ears sit at matching heights.
For items intended for babies or young children, embroidered eyes are generally a safer design choice than hard plastic parts. Safety eyes are called “safety” eyes because they lock into fabric, but no detachable component should be assumed suitable for every age group or every regulatory standard.
ADDING A STRAWBERRY HAT OR ACCESSORY
A strawberry hat creates a strong visual theme without changing the recognizable capybara body. The accessory may be worked separately or integrated, depending on the pattern.
The strawberry effect usually comes from:
- A red or pink rounded base
- Small embroidered yellow or cream seeds
- A green leaf or calyx section
- A shape fitted closely enough to sit securely on the head
Keep embellishments proportional. Oversized leaves can cover the ears, while heavy embroidery can pull soft plush fabric out of shape. Secure every tail inside the accessory before attachment.
HOW TO KEEP NO-SEW FEATURES SYMMETRICAL
Feature placement should be planned before the relevant round begins. Count from the round marker and place temporary markers at both attachment points. Then rotate the body and compare the markers from the front, back, and top.
Ears
- What to check before joining: Equal height and distance from the center line
- What to check before joining: Matching round and balanced spacing
Back legs
- What to check before joining: Body can rest evenly without rolling
- What to check before joining: Centered relative to the back of the body
Accessory
- What to check before joining: Does not cover the eyes or distort the ears
- Clear abbreviations in the stated crochet terminology
- Exact stitch totals for every round
- Placement instructions for integrated features
- Progress photos from more than one angle
- Guidance for stuffing and facial details
- Finished measurements and yarn information
Ready to crochet a cute capybara? Visit Atiya Artistry on Etsy to explore the no-sew capybara amigurumi pattern and other instant-download crochet designs.
FREQUENTLY ASKED QUESTIONS
WHAT DOES NO-SEW AMIGURUMI MEAN?
It means the major features are crocheted into or joined with the main body, reducing the amount of separate assembly required at the end.
WHAT YARN IS BEST FOR A CAPYBARA PLUSH?
Chenille yarn creates a soft, cuddly plush, while smooth acrylic or cotton makes stitches easier to see. Use the yarn weight specified by the pattern for predictable sizing.
WHY CAN I SEE STUFFING THROUGH MY AMIGURUMI?
The hook may be too large, the tension may be too loose, or the toy may be overstuffed. A denser fabric and more controlled stuffing usually help.
CAN BEGINNERS USE PLUSH YARN?
Yes, but hidden stitches can make counting difficult. Beginners may benefit from strong lighting, frequent counting, extra markers, and a smooth-yarn practice piece.
ARE SAFETY EYES SUITABLE FOR BABIES?
For toys intended for babies or very young children, embroidered facial features are the safer default. Sellers should also follow the toy-safety rules that apply in their market.
CAN I MAKE THE CAPYBARA IN A DIFFERENT SIZE?
Changing yarn weight and hook size can change the finished dimensions, but it can also alter firmness and proportions. Keep the yarn and hook compatible and make a test version when size is important.
FINAL THOUGHTS
A no-sew capybara combines efficient construction with a charming finished result. The project becomes much easier when each round is counted, features are marked before attachment, and stuffing is added gradually. Take extra time with the face because small changes in eye, ear, and nose placement create a completely different expression.
Browse the full collection of digital patterns at the Atiya Artistry Etsy shop .